



DIY Pergola Installation: Two Adults, One Weekend

- Two adults, two ladders, a power drill, spanner, and spirit level - that's the complete toolkit for a freestanding manual install.
- RapidLouver™ closes a 3×3 m roof in minutes, versus hours with competitor systems.
- Existing concrete slab (minimum 100 mm depth) anchors directly with M10 wedge bolts - no groundwork needed if you have solid base.
- Motorised Pergola 4 Pro needs a mains power cable routed before frame assembly
- Lead time is 1-2 weeks from order versus the 12-16 week industry average - pick your install weekend before you buy.
What does DIY pergola installation actually involve - and is it within reach for two adults?
Yes - and here's what that actually looks like. A freestanding aluminium pergola follows a straightforward sequence: site prep, post anchoring, frame assembly, louvres, then accessories. Each stage has a clear goal and a clear stopping point. There's no masonry, no welding, and no decisions that require a specialist trade.
The tool list is shorter than most readers expect.
- Two adults
- Two ladders
- A power drill
- A spanner
- A spirit level
That's the complete kit for a freestanding manual install, start to finish. No scaffold tower, no concrete mixer, no structural engineer on speed dial.
One tradeoff worth naming upfront: the Pergola 4 Pro's motorised louvres and integrated gutter LEDs run on mains power. You need a supply cable routed to the footprint before the frame goes up - and in the UK, connecting to a mains circuit falls under Part P, which means a qualified electrician. It's a single cable run, not a full rewire, but plan it before the frame arrives, not after. If you want a completely self-contained DIY weekend with no trades at all, a freestanding manual configuration delivers exactly that.
Lead time is 1-2 weeks from order. The industry average runs 12-16 weeks. That gap matters practically: you can pick your install weekend before you order, not weeks after a delivery notice lands. Check the forecast, block two days, then buy.
By the end of this guide, you'll have a clear picture of every stage - what each one demands, how long it takes, and where the genuine decisions sit.
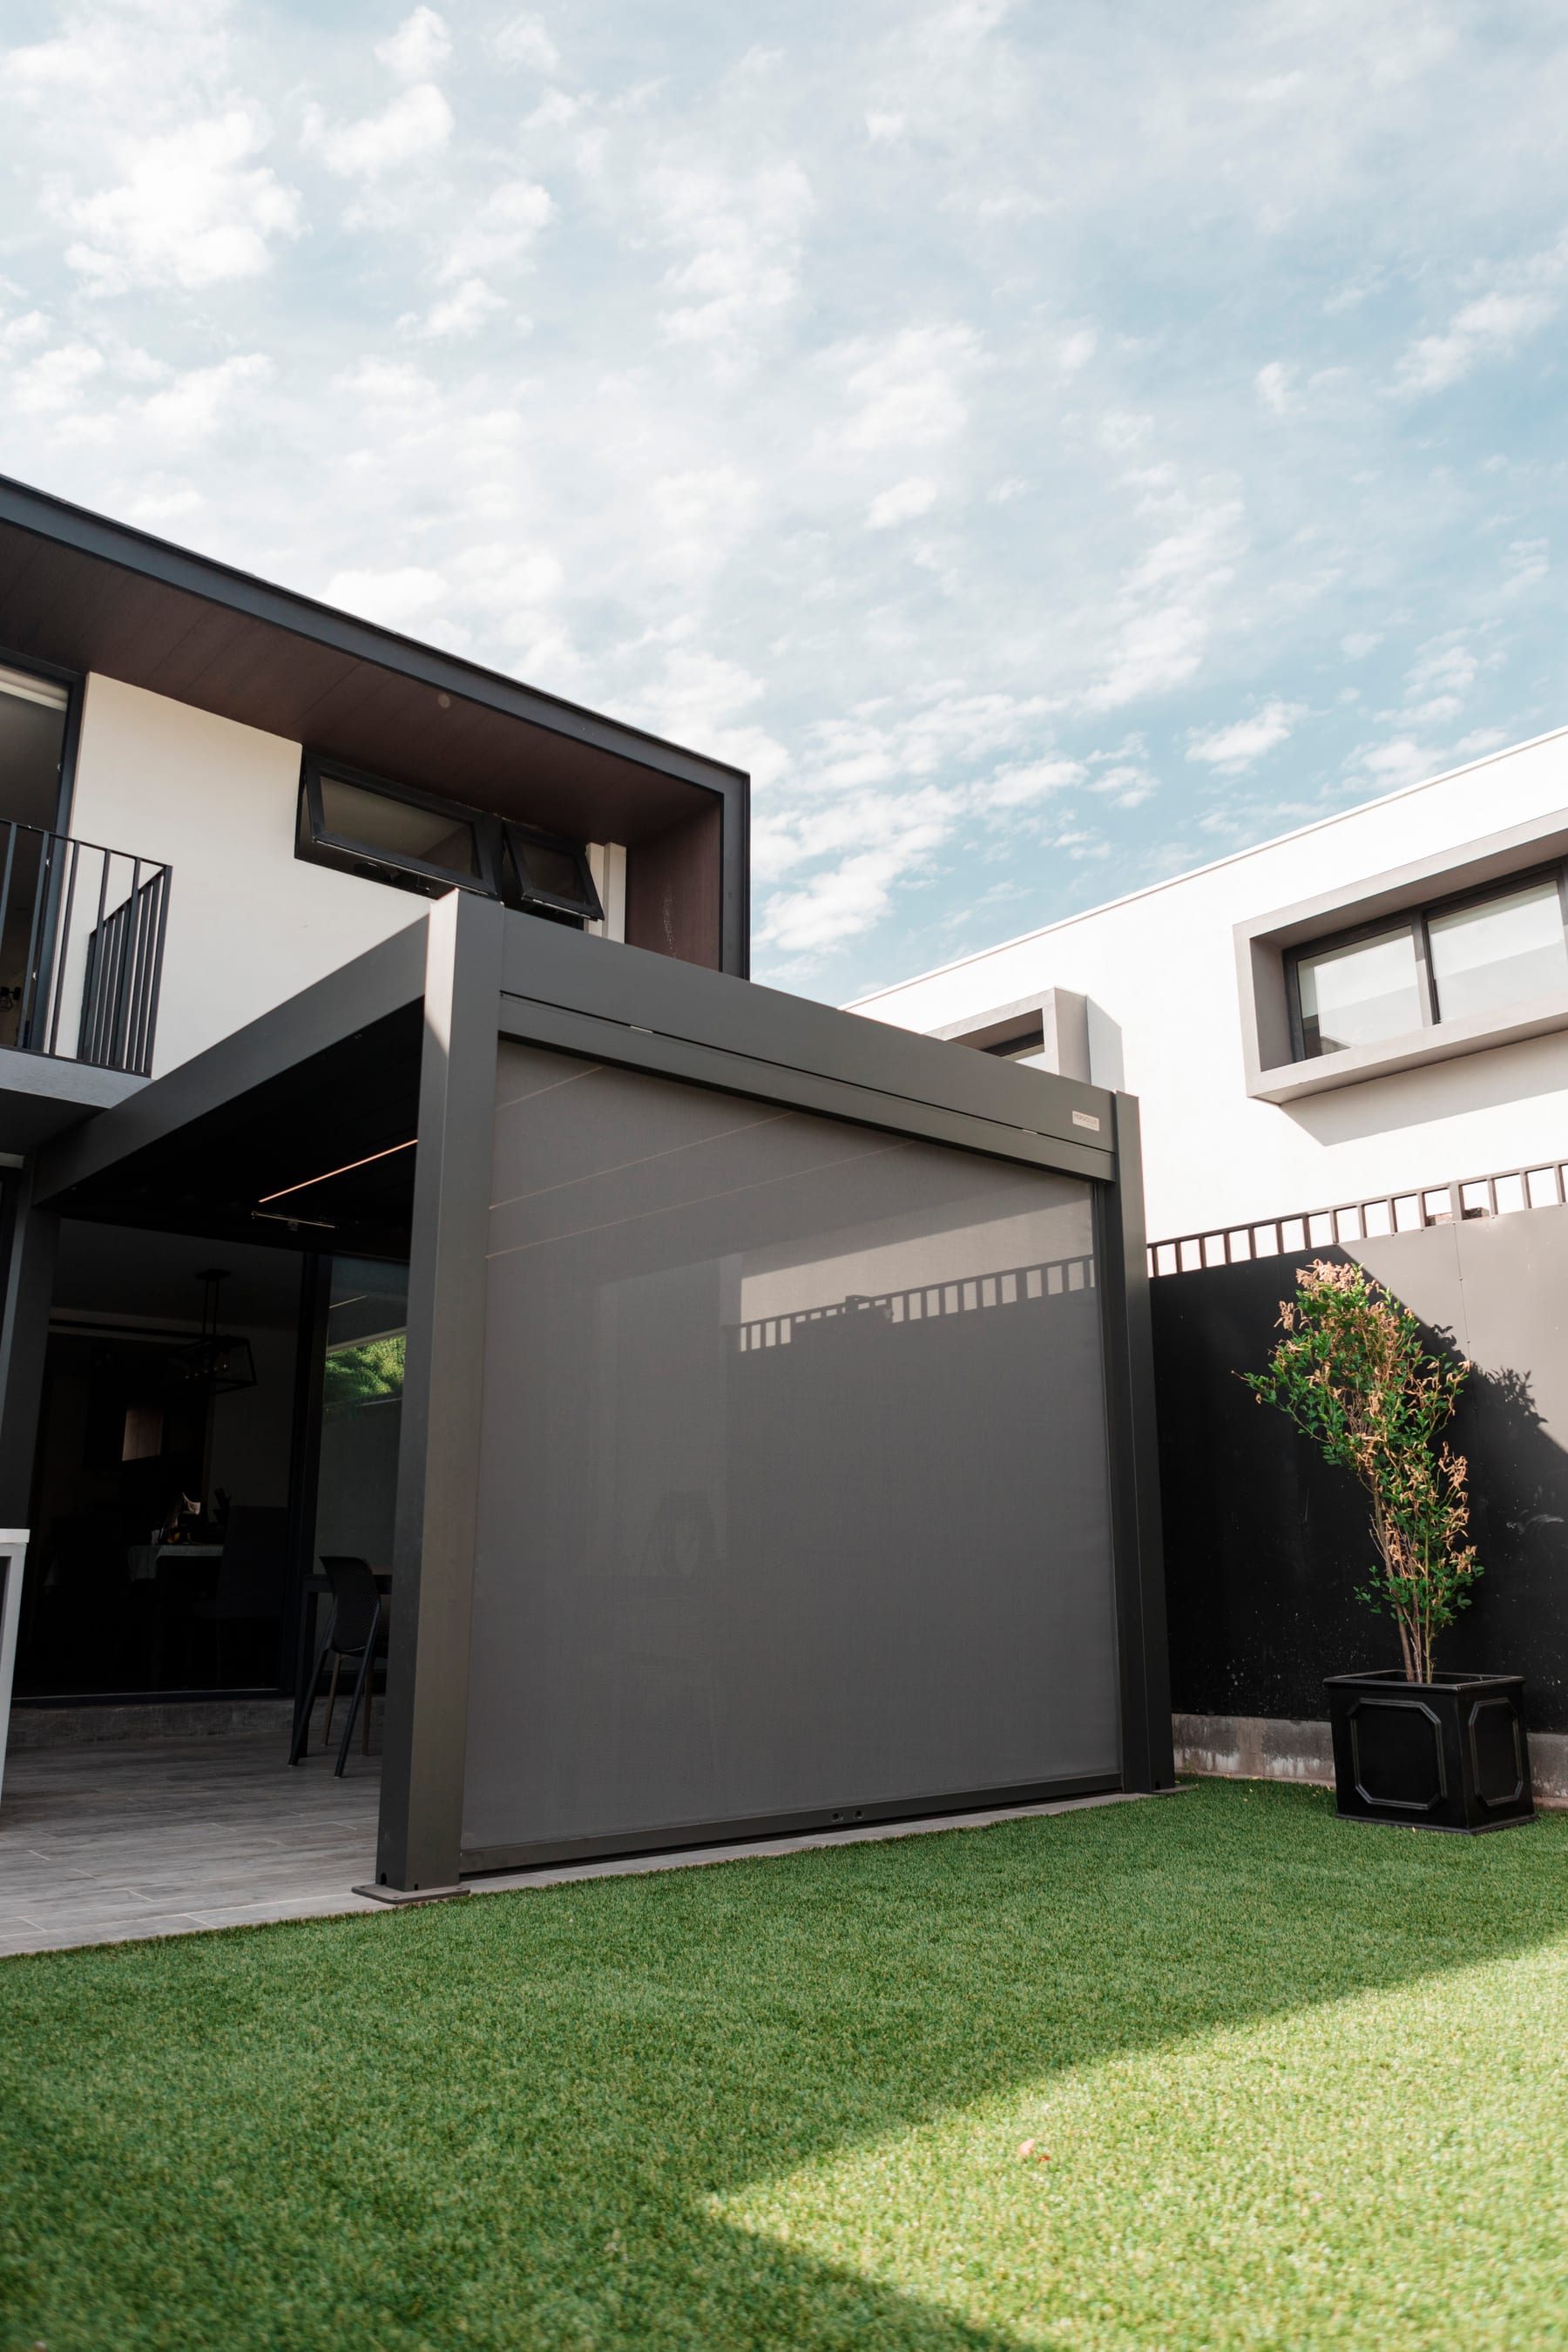
What base does your garden need - concrete slab, paved patio, or new footings?
Your starting point determines everything downstream, so it's worth being honest about what you're working with before the frame arrives. There are three realistic scenarios for a UK garden, and each has a clear path forward.
Existing concrete slab is the simplest case. For a freestanding install in UK conditions - wind-driven rain, coastal gusts - you need a minimum slab depth of 100 mm, though 150 mm is the more comfortable call if your site is exposed. The solid aluminium footplates (up to 200 × 200 mm) anchor directly to the slab with M10 wedge bolts. If your slab meets that depth, groundwork is done before you've lifted a post.
Existing paved patio works too, with one caveat: the anchor bolts need to reach solid ground beneath the paving. Block paving on a compacted sub-base is usually fine; loose slabs on sand are not. Lift two or three slabs at each post position, pour a small concrete collar around the bolt zone, and you're back on firm footing. It adds an afternoon, not a project.
New bored concrete piers are the right call when the ground is very uneven, soft, or where you're starting from bare soil. You bore to below the frost line - typically 450-600 mm in the UK - pour in situ, and bring all four tops flush. It's a separate groundwork step that adds £400-£900 depending on depth and access, but it handles any site that the first two options can't.
You don't need to calculate exact slab requirements yourself. The Pre-Delivery Guide covers the precise specifications for your model's footprint, so you know exactly what to prepare before installation day. For a deeper look at foundation options and soil types, the pergola foundations guide covers each scenario in full.
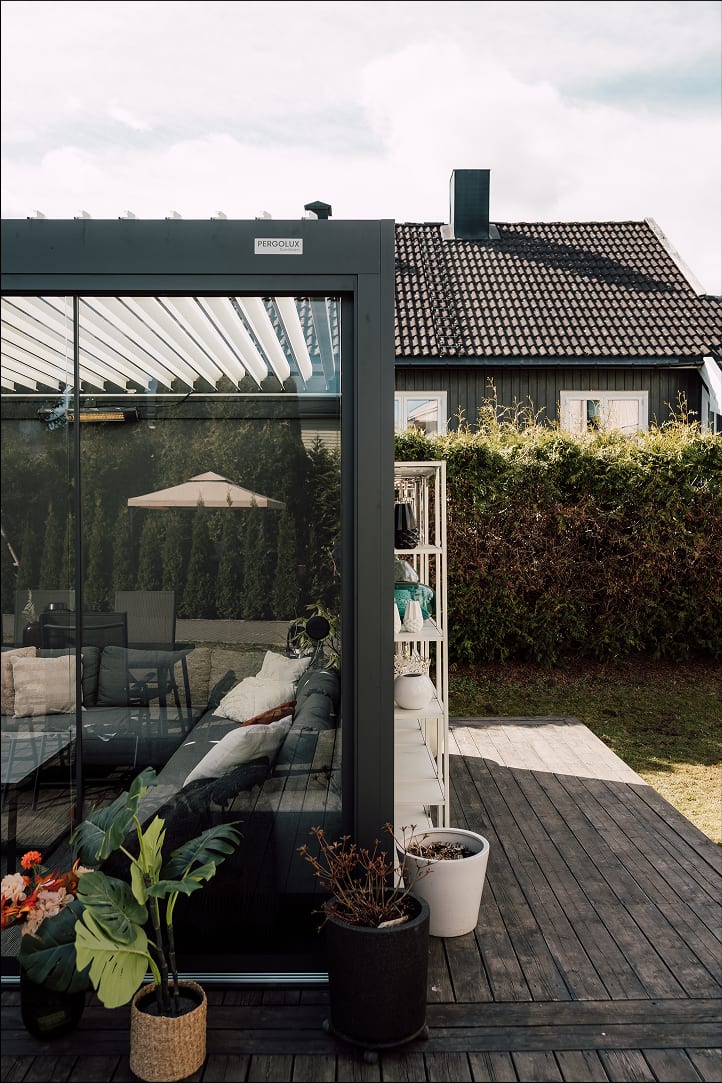
How does RapidLouver™ change the maths on a DIY roof - and what does one afternoon actually look like?
Start with the number that changes the calculation: roughly 1 minute per louvre with RapidLouver™, versus approximately 4 hours with a competitor system. That's not a rounding difference - it's a different project entirely. RapidLouver™ also uses around 20% of the screws a competitor roof requires, which means fewer fixings to torque, fewer opportunities for misalignment, and a cleaner finish when you're done.
Do the arithmetic for a 3 × 3 m roof. You're looking at 9 to 12 louvres. At 1 minute each, the roof is closed in somewhere between 15 and 20 minutes of active work. Allow for a short break and a second pass to check alignment, and you've finished the roof in a single afternoon - with the frame already standing from the morning session.
The snap-in sequence itself is more satisfying than fiddly. Each louvre is precision-balanced at its centre of gravity, which means it sits level in your hands rather than tipping toward one end. You position the louvre, align the pivot pins at each end into the frame channel, and it locks. Because the weight is centred, the motor doesn't have to fight gravity to rotate the slat - it moves through the full 130° arc cleanly, which also means it installs cleanly. There's no torque correction needed, no shimming, no re-seating.
One reassurance worth stating plainly: the Pergola 4 Pro's motors are IP65-rated - hermetically sealed against rain and dust. If the British weather turns while you're mid-install, the mechanism is fine. Leave the louvres in their packaging until you're ready to fit them, and a passing shower won't set you back.
The roof is closed in somewhere between 15 and 20 minutes of active work - the start of an afternoon, not a specialist trade.
The one genuine tradeoff sits with the motorised model. The Pergola 4 Pro needs a power supply cable routed to the frame - and that cable run falls under Part P of the Building Regulations, which means a qualified electrician needs to do it. Plan the cable route before the frame goes up; retrofitting it afterwards is significantly more awkward. If you'd rather avoid trades entirely, the Pergola 4 Pro Max shares the same smart-home architecture, while the manual crank model sidesteps the electrical question completely - no power supply needed, no Part P, no electrician on the guest list.
The structural aluminium (covered in the previous section) holds its geometry throughout the install, which matters when you're fitting twelve louvres in sequence and need the frame to stay square. That rigidity isn't incidental - it's what makes the snap-in tolerances work as designed.
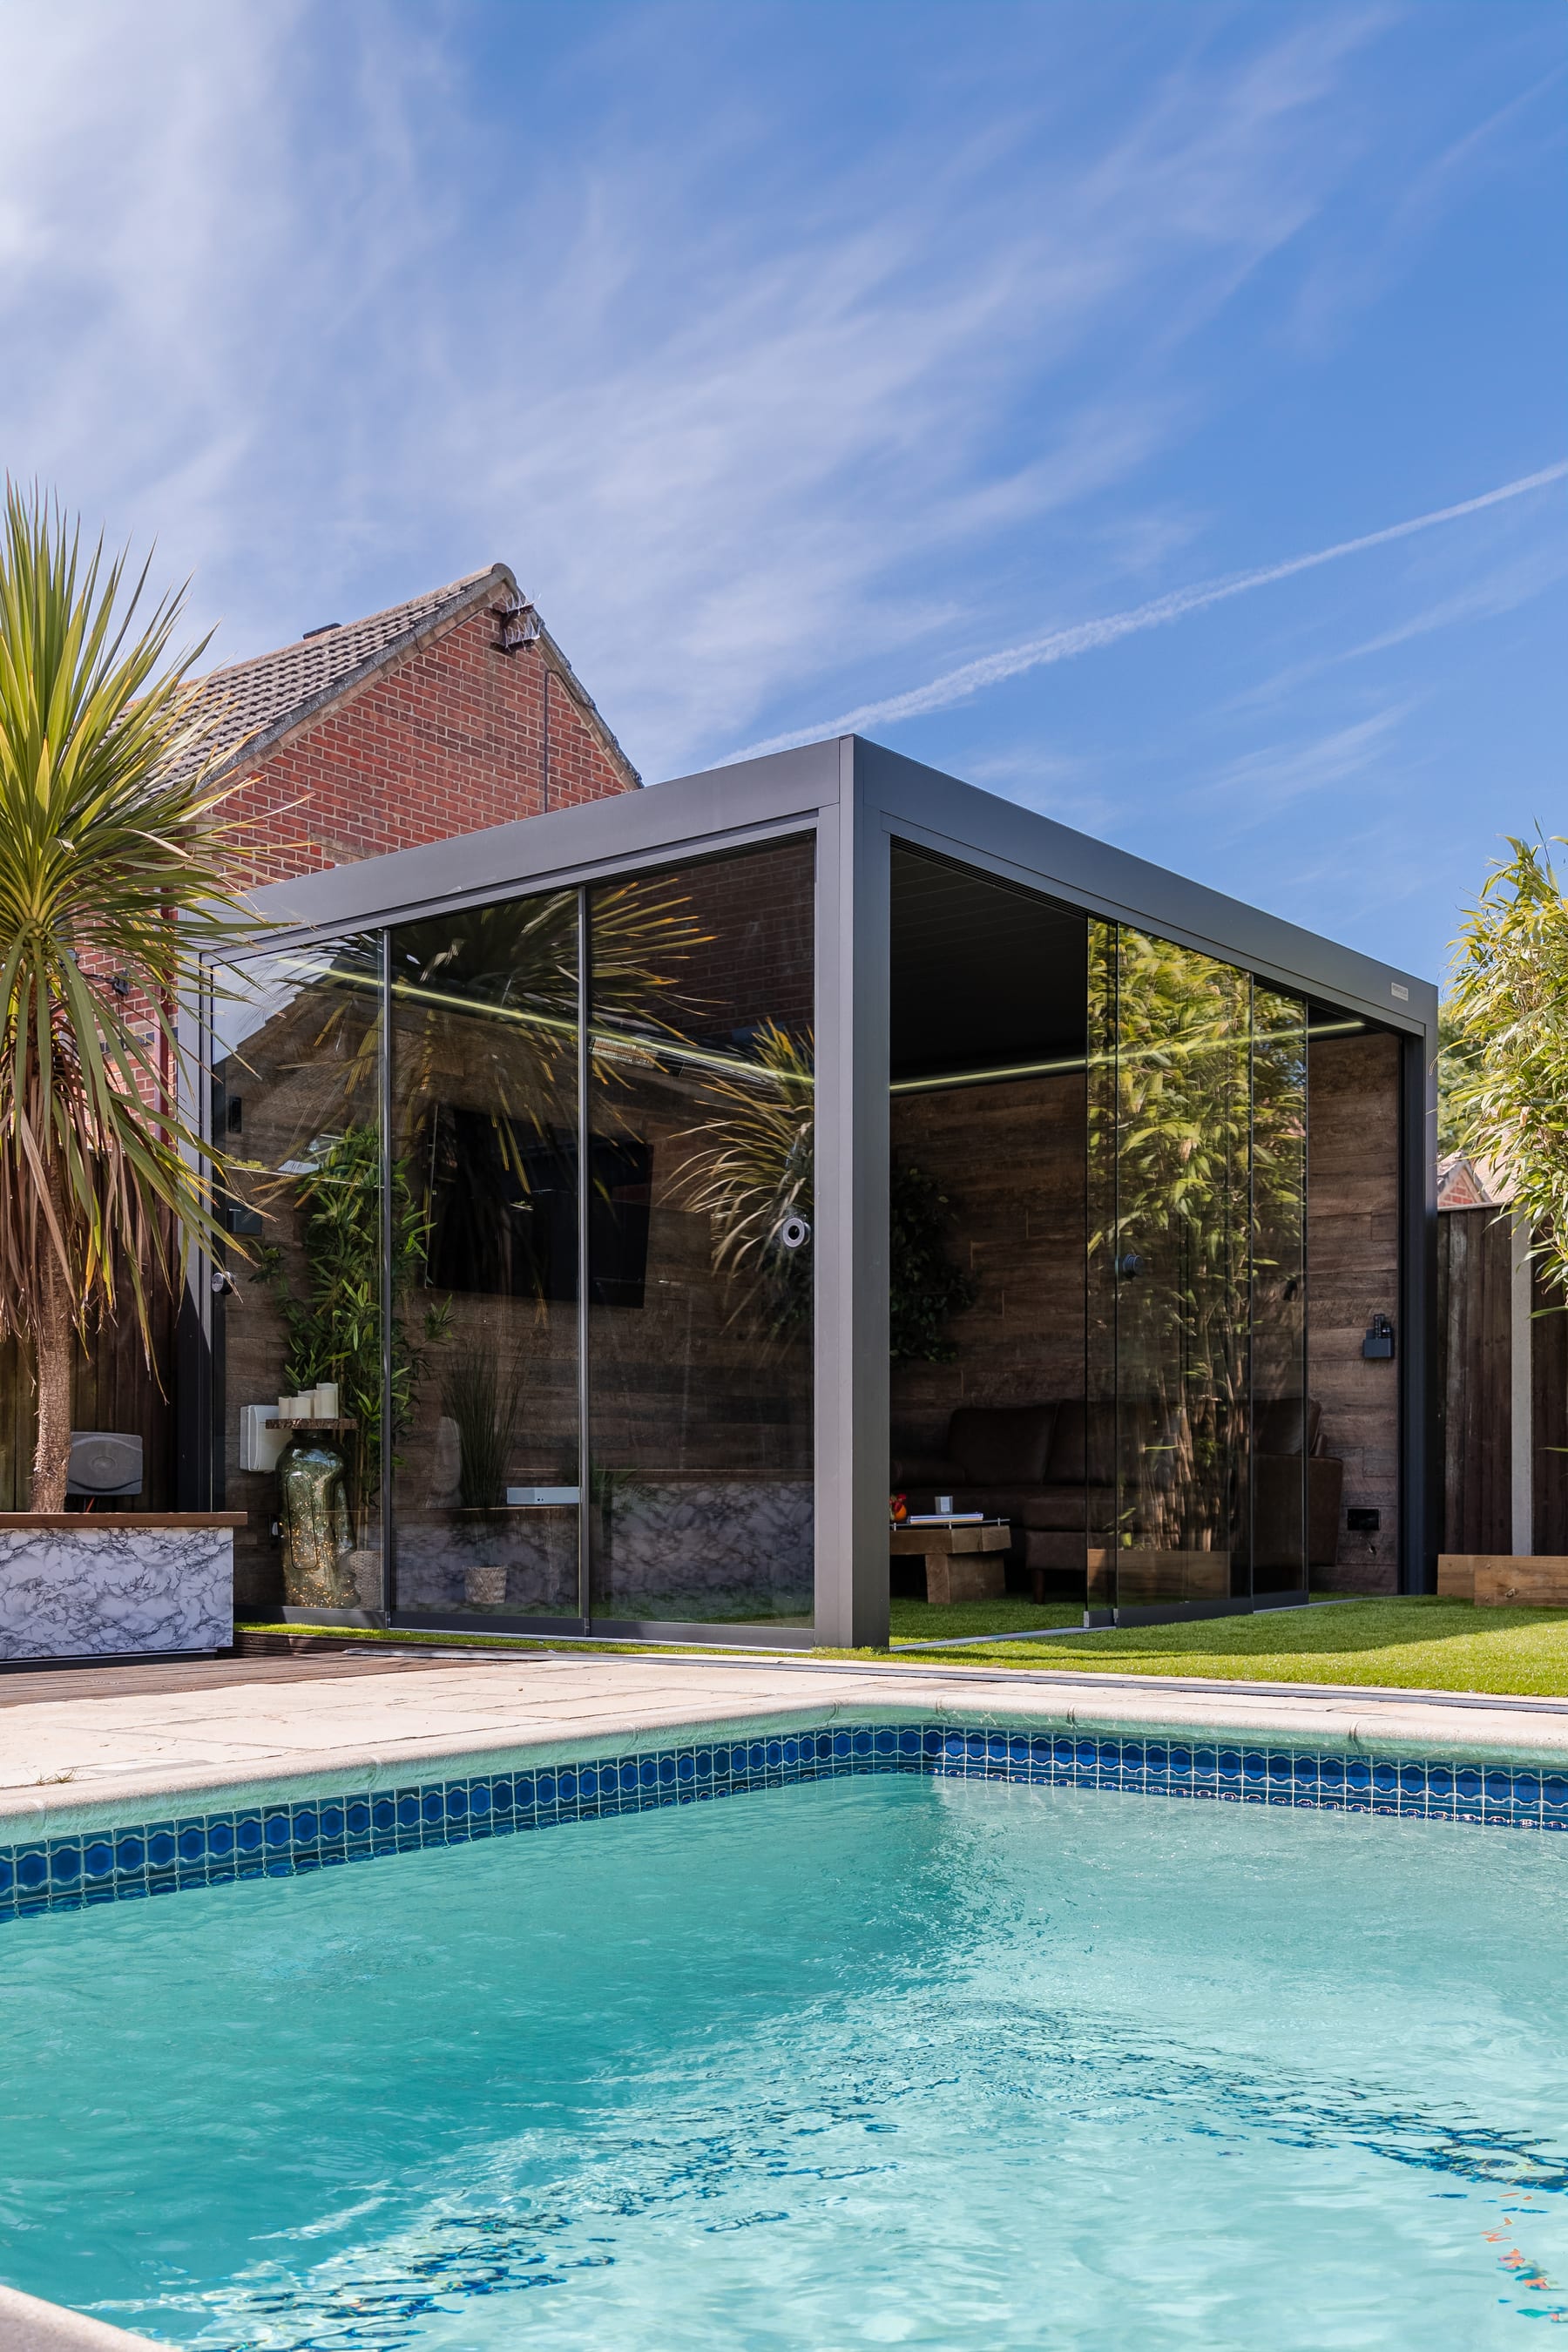
Planning permission, wall-mount vs. freestanding, and Beaufort 12 anchoring - the three questions that stop people mid-project
Most people hit these three questions in sequence, and each one can feel like it might derail the whole project. None of them should.
Planning permission first, because it creates the most anxiety. The honest answer is that most pergolas in England fall under Permitted Development rights and don't require a planning application - see our dedicated guide on planning permission for a pergola in the UK for the exact thresholds. (Scotland, Wales, and Northern Ireland have their own rules. You probably already knew there'd be a caveat.)
Wall-mount vs. freestanding is a structural question more than an aesthetic one. A wall-mount configuration uses the house wall as one of the primary anchors - useful in smaller gardens where you want the pergola to read as a natural extension of the building, and where the footprint doesn't leave room for four independent posts. The tradeoff is real: the host wall needs to be structurally capable of taking the load, and if you're not certain, a brief look from a structural engineer or experienced builder is worth it. It's not a complex assessment, but it's the one moment in a freestanding-vs-wall-mount decision where a second opinion earns its keep.
Freestanding is the simpler DIY path. The structure is entirely self-supporting - nothing transfers load to the building - and it satisfies UK Building Regulations Part A without the wall-capacity question. It also gives you more flexibility on siting, including positioning the pergola away from the house entirely if the garden layout calls for it.
Post anchoring and wind load is where the engineering does its quiet work. The Pergola 4 Pro is Beaufort Scale 12 certified, which means it's rated for winds up to 118 km/h (73 mph) - the reference figure for Cornish coastal and North Sea installs where wind-driven rain and gusts are the real-world test. The solid aluminium footplates anchored into the slab with M10-equivalent bolts carry that certification from the structure into the ground. The frame and the anchoring system are rated together; skimping on slab depth or bolt pattern breaks that relationship. Get both right, and the structure handles what UK weather produces.
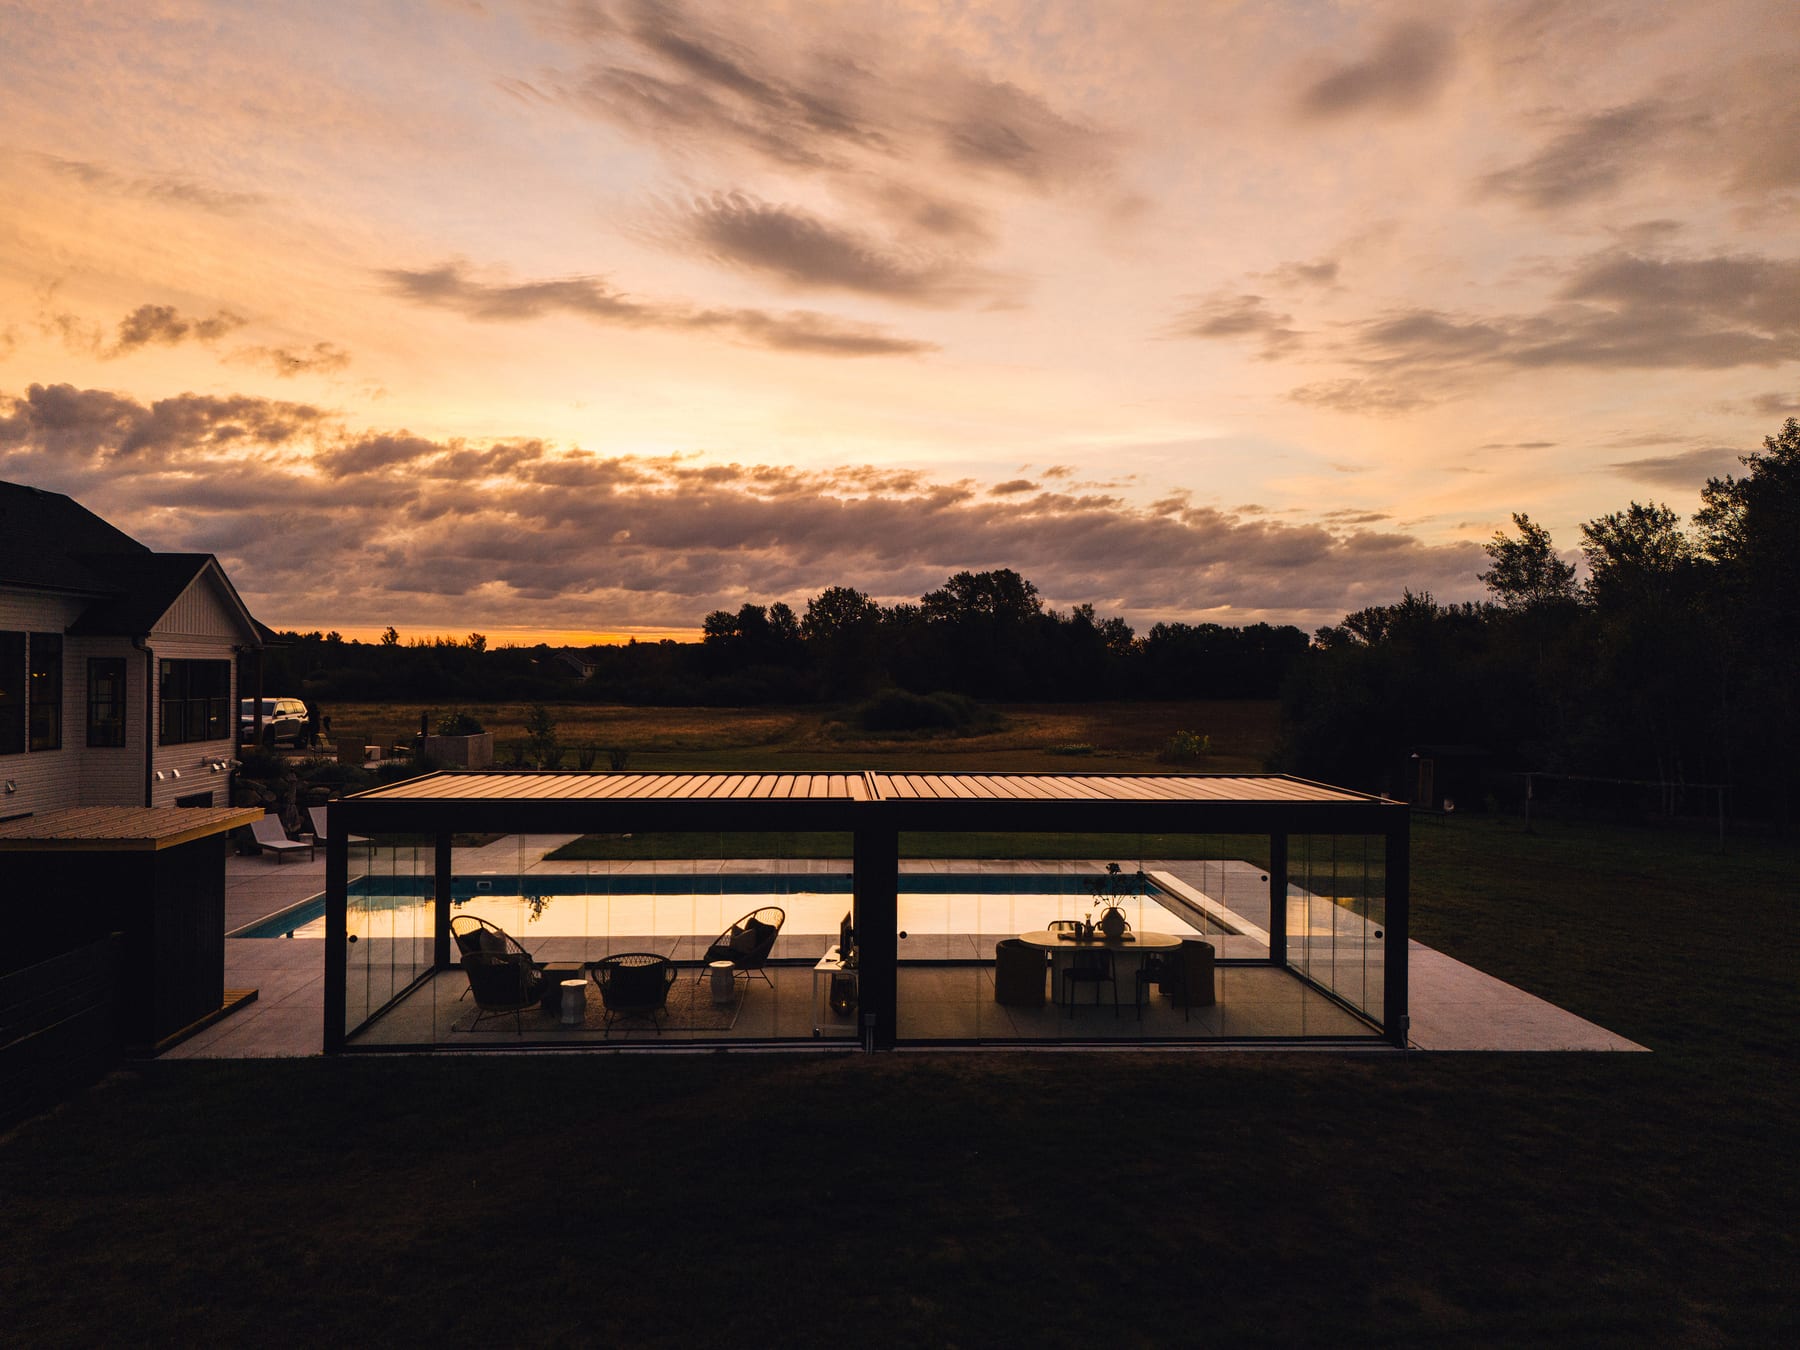
What order do you add Glass Walls, Retractable Screens and Aluminium Slat Walls - and why phasing them is smart design?
All three accessories attach post-frame - which means the weekend you put the structure up is genuinely complete in itself. You're not leaving something half-finished; you're making a considered decision about what comes next. That distinction matters, because the best time to choose how enclosed your space should be is after you've sat under the open frame for a few weeks and actually watched how you use it.
Think of the frame as the canvas. The accessories are how you finish the picture.
- Glass Walls close in a side for full weather protection - extending the usable season without blocking light or the view. The obvious choice for the side that faces the prevailing wind, or where you want a defined indoor-outdoor threshold.
- Retractable Screens add privacy and insect control on demand. Pull them down for a summer evening, roll them away when you want the garden to breathe. They're the most versatile panel for a side that sees changing use through the day.
- Aluminium Slat Walls bring architectural definition - and quiet wind baffling - without fully closing the space. They work particularly well where you want visual screening from a neighbour or road without turning the pergola into a room.
You can add one panel this year and a second next. Nothing about the frame commits you to a configuration before you're ready. That's not a budget compromise - it's the more intelligent way to design a space you'll actually use differently across four seasons.
One caveat worth naming: standard accessory sizes cover the most common pergola dimensions, but not every span. If your footprint is non-standard - either because the garden dictated an unusual width or you're working around a feature - PERGOLUX Custom Design routes you to a made-to-measure solution rather than asking you to force a standard panel into a gap it doesn't quite fit.
Back to Blog